CI/CD using Jenkins Series - Installation Guide
Basic intro to Jenkins, Installation Guide & UI Overview

This blog post provides an overview of Jenkins, including instructions for downloading it onto local machines or VMs.
Enterprises today prioritize automation to boost efficiency, reduce errors, and save time and resources. By assigning repetitive and time-consuming tasks to machines, automation enables swift and precise performance, freeing up employees to focus on strategic and value-adding activities.
In addition, implementing automation allows businesses to establish uniformity in their procedures and guarantee their consistent execution, irrespective of the person performing them. Consequently, this can result in enhanced excellence, adherence to regulations, and client contentment. Also, let us introduce you to Jenkins, our CI hero!

Jenkins is a powerful open-source software that enables continuous integration/continuous delivery and deployment (CI/CD) automation. Its main function is to streamline CI/CD workflows through the creation of pipelines. These pipelines automate the testing and integration of code into the primary build, effectively preparing the code base for deployment. With Jenkins, code can be deployed to a variety of platforms, including containers, virtual machines, bare metal, and cloud servers.
Before installing Jenkins, it is necessary to have Java installed on either your local server or cloud instance as Jenkins is developed using the Java programming language.
Java Installation
NOTE: Jenkins requires Java 11 or 17 since Jenkins 2.357 and LTS 2.361.1.
Java SE Development Kit v11 Official Docs
(Download Java compressed archive based on your OS)
Installing Jenkins on Debian/Ubuntu:
This is the Debian package repository of Jenkins to automate installation and upgrade. To use this repository, first, add the key to your system:
curl -fsSL https://pkg.jenkins.io/debian-stable/jenkins.io.key | sudo tee \
/usr/share/keyrings/jenkins-keyring.asc > /dev/null
Then add a Jenkins apt repository entry:
echo deb [signed-by=/usr/share/keyrings/jenkins-keyring.asc] \
    https://pkg.jenkins.io/debian-stable binary/ | sudo tee \
    /etc/apt/sources.list.d/jenkins.list > /dev/null
Update your local package index, then finally install Jenkins:
  sudo apt-get update
  sudo apt-get install fontconfig openjdk-11-jre
  sudo apt-get install jenkins
We have successfully installed Jenkins. Now to start Jenkins we will need systemctl commands
(The system command manages both system and service configurations, enabling administrators to manage the OS and control the status of services)
Starting Jenkins Services:
sudo systemctl start jenkins
Stopping Jenkins Services:
sudo systemctl stop jenkins
Restarting Jenkins Services:
sudo systemctl restart jenkins
(Jenkins listens on port 8080)
local server: https://localhost:8080
cloud: <your-public-ip-address>:8080
Jenkins official download Docs :
(Download Jenkins based on your OS)
Getting Started:
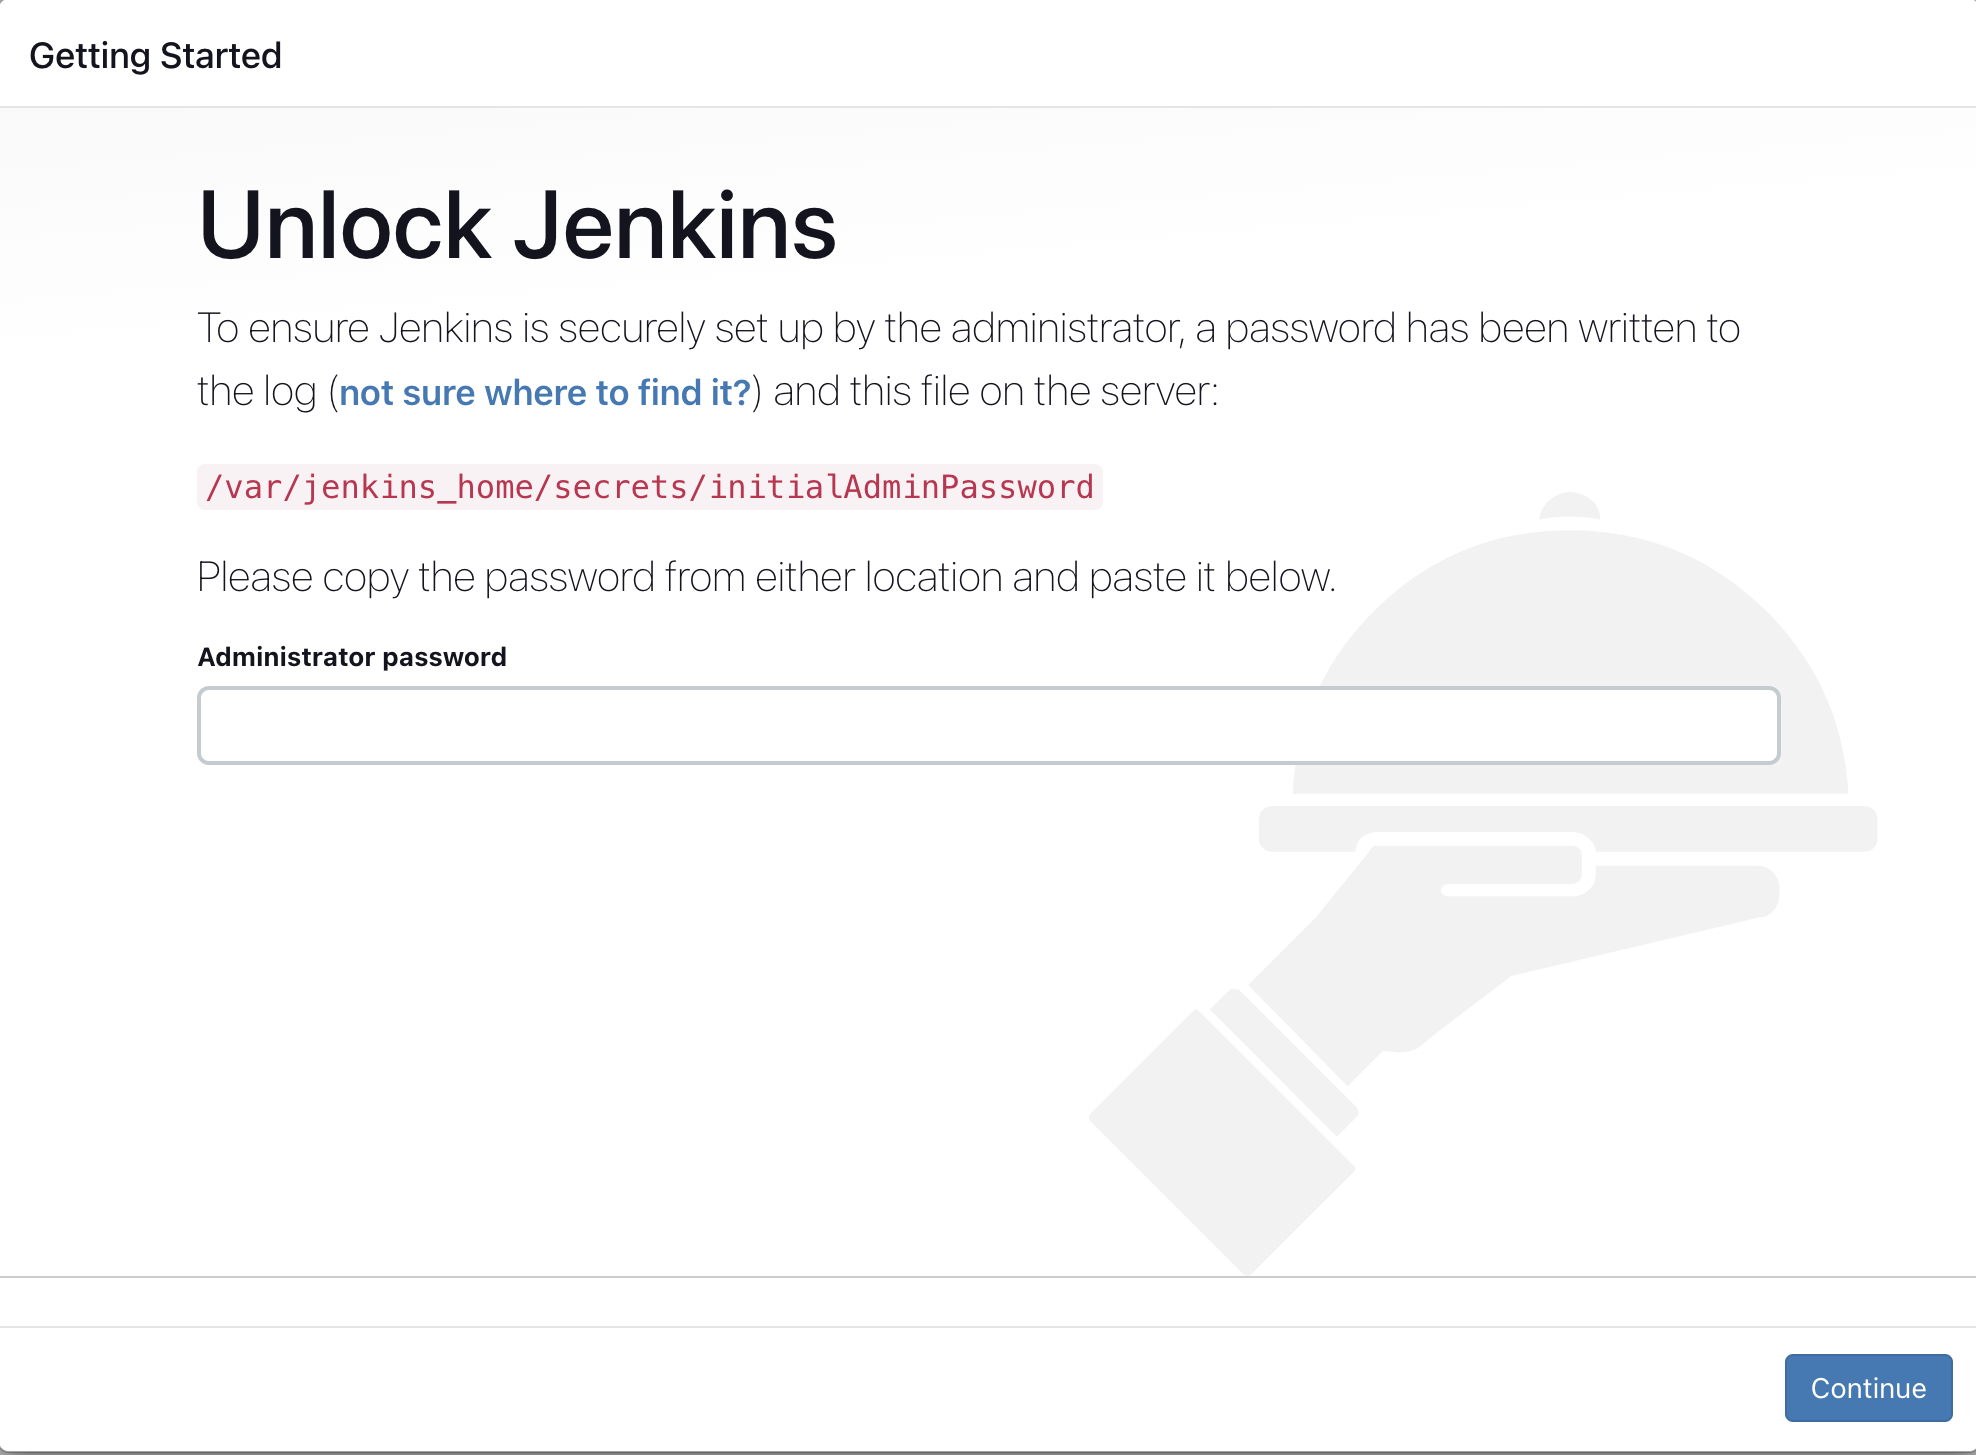
If Jenkins is started successfully you will see this on port 8080. The initial administrator password is present by default in the secrets folder. To get the password use the following command. Use the password shown to access the UI.
sudo cat /var/jenkins_home/secrets/initialAdminPassword
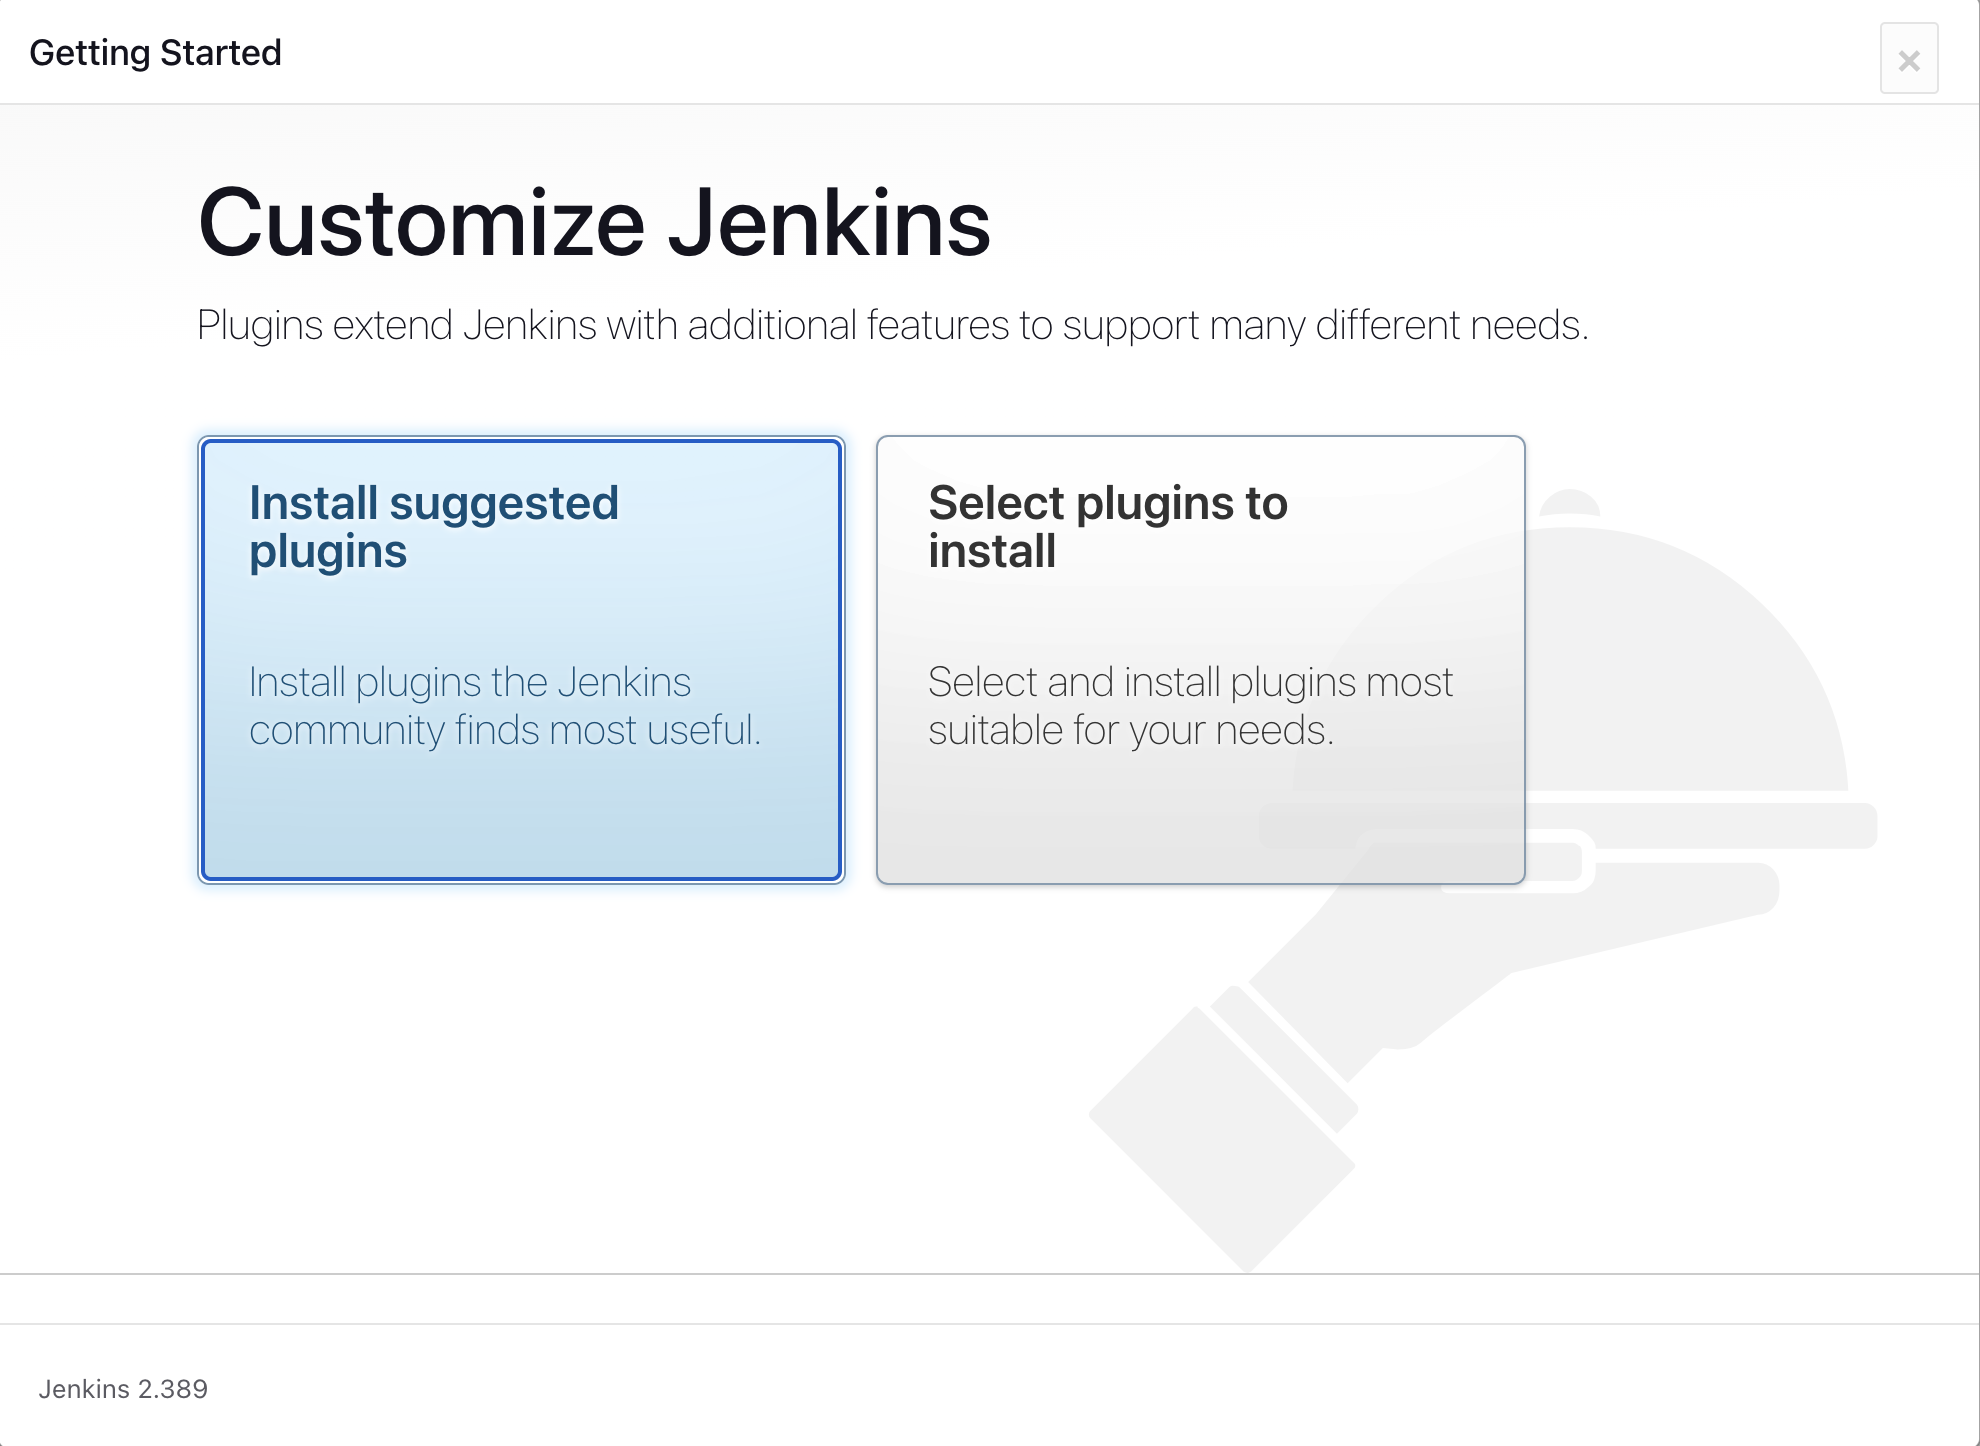
- Install the suggested plugins
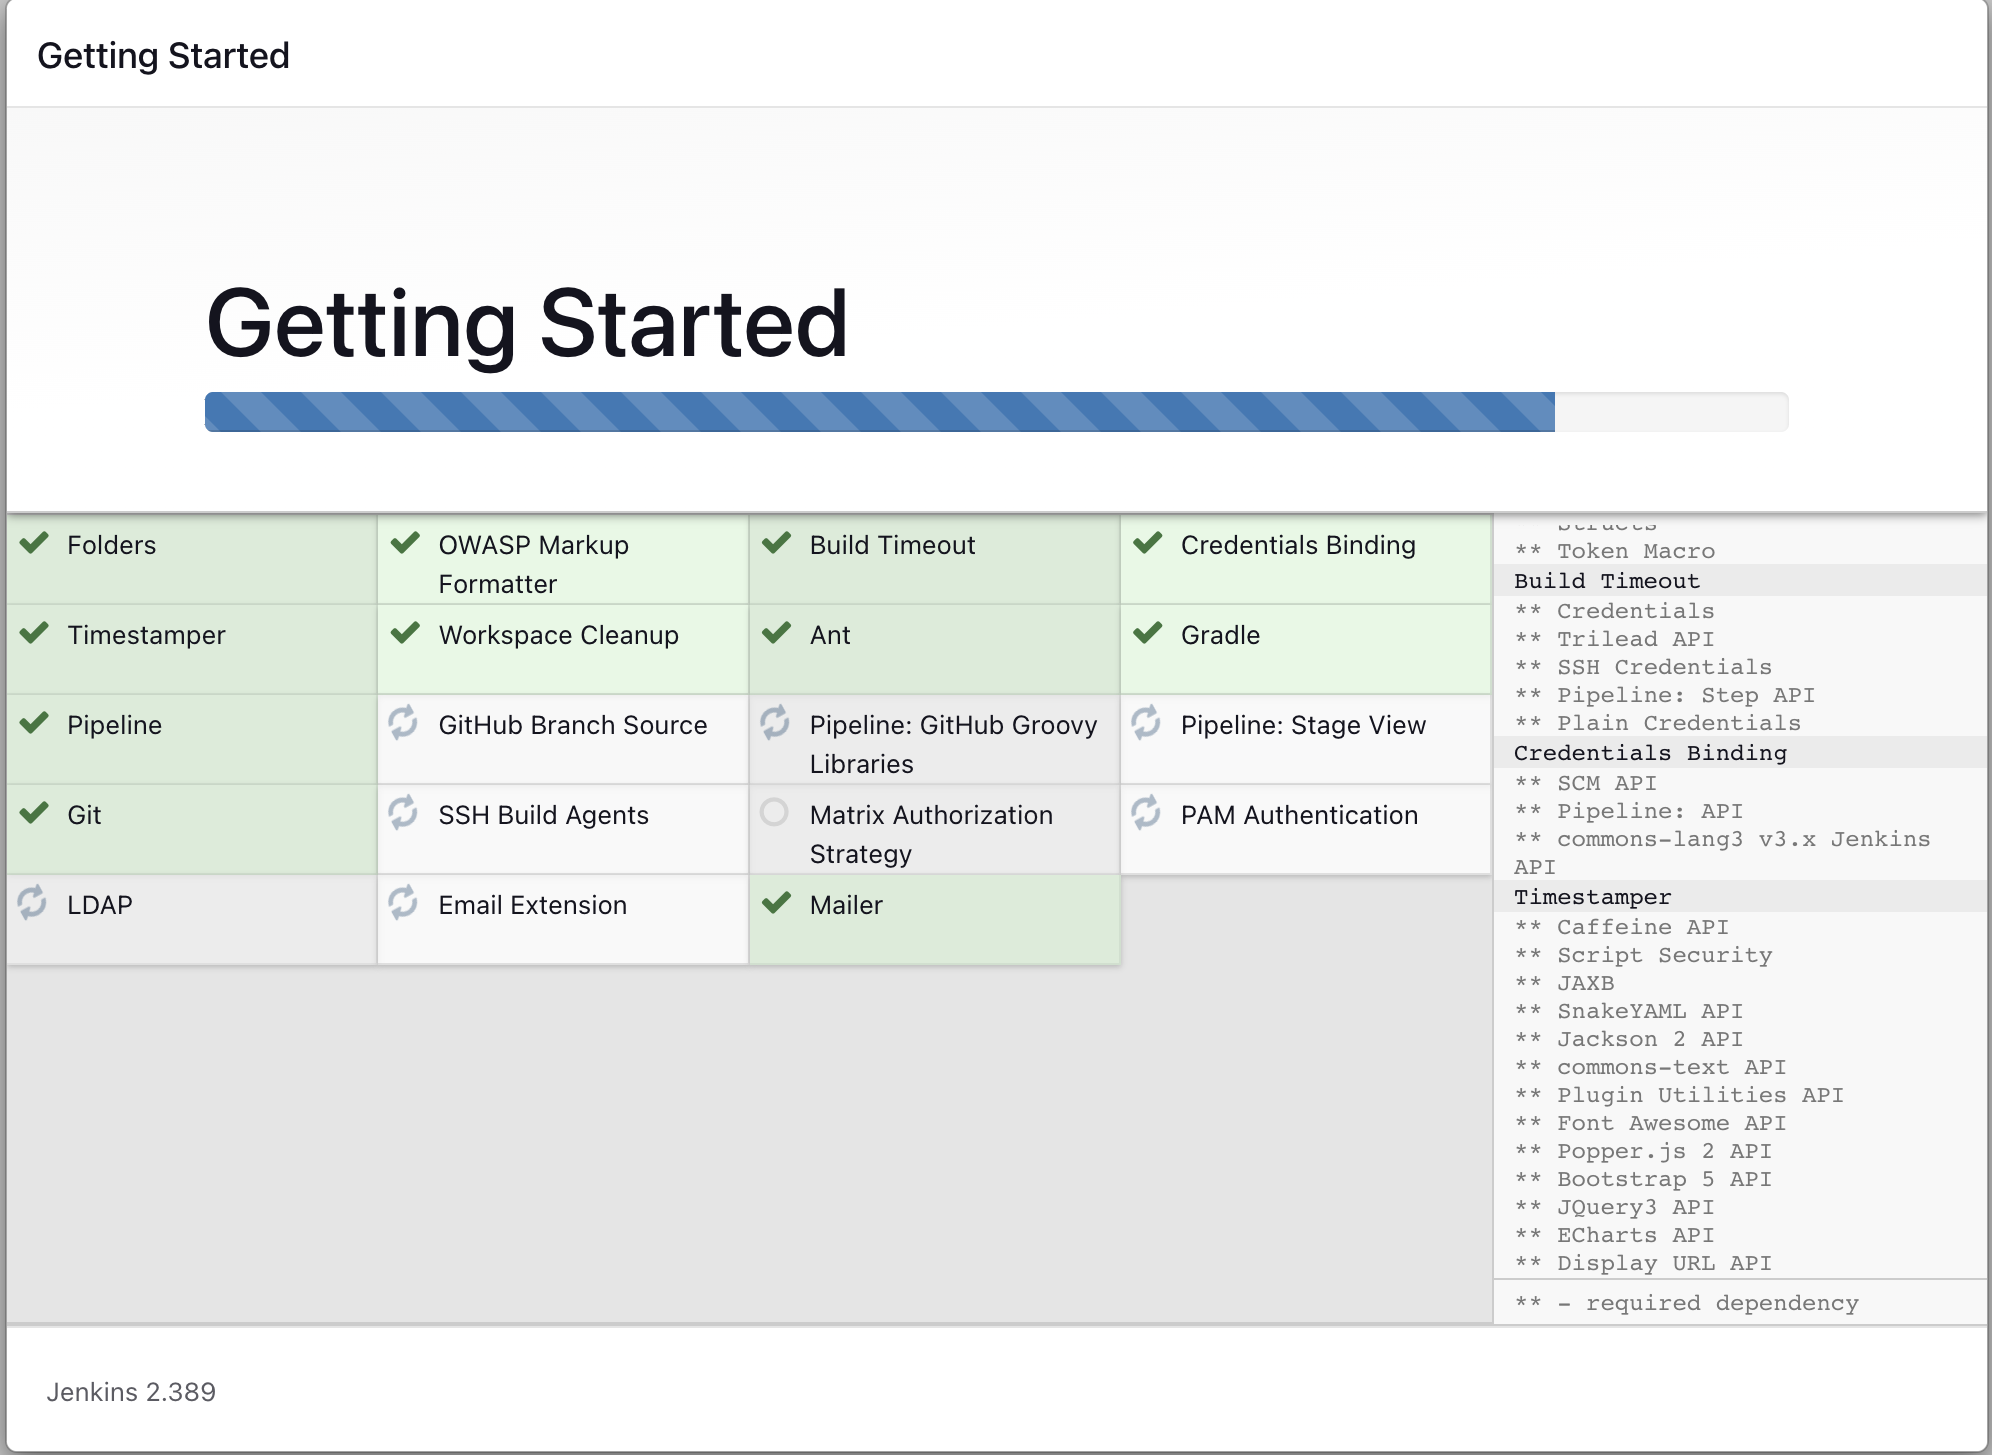
- Wait for it to get completed
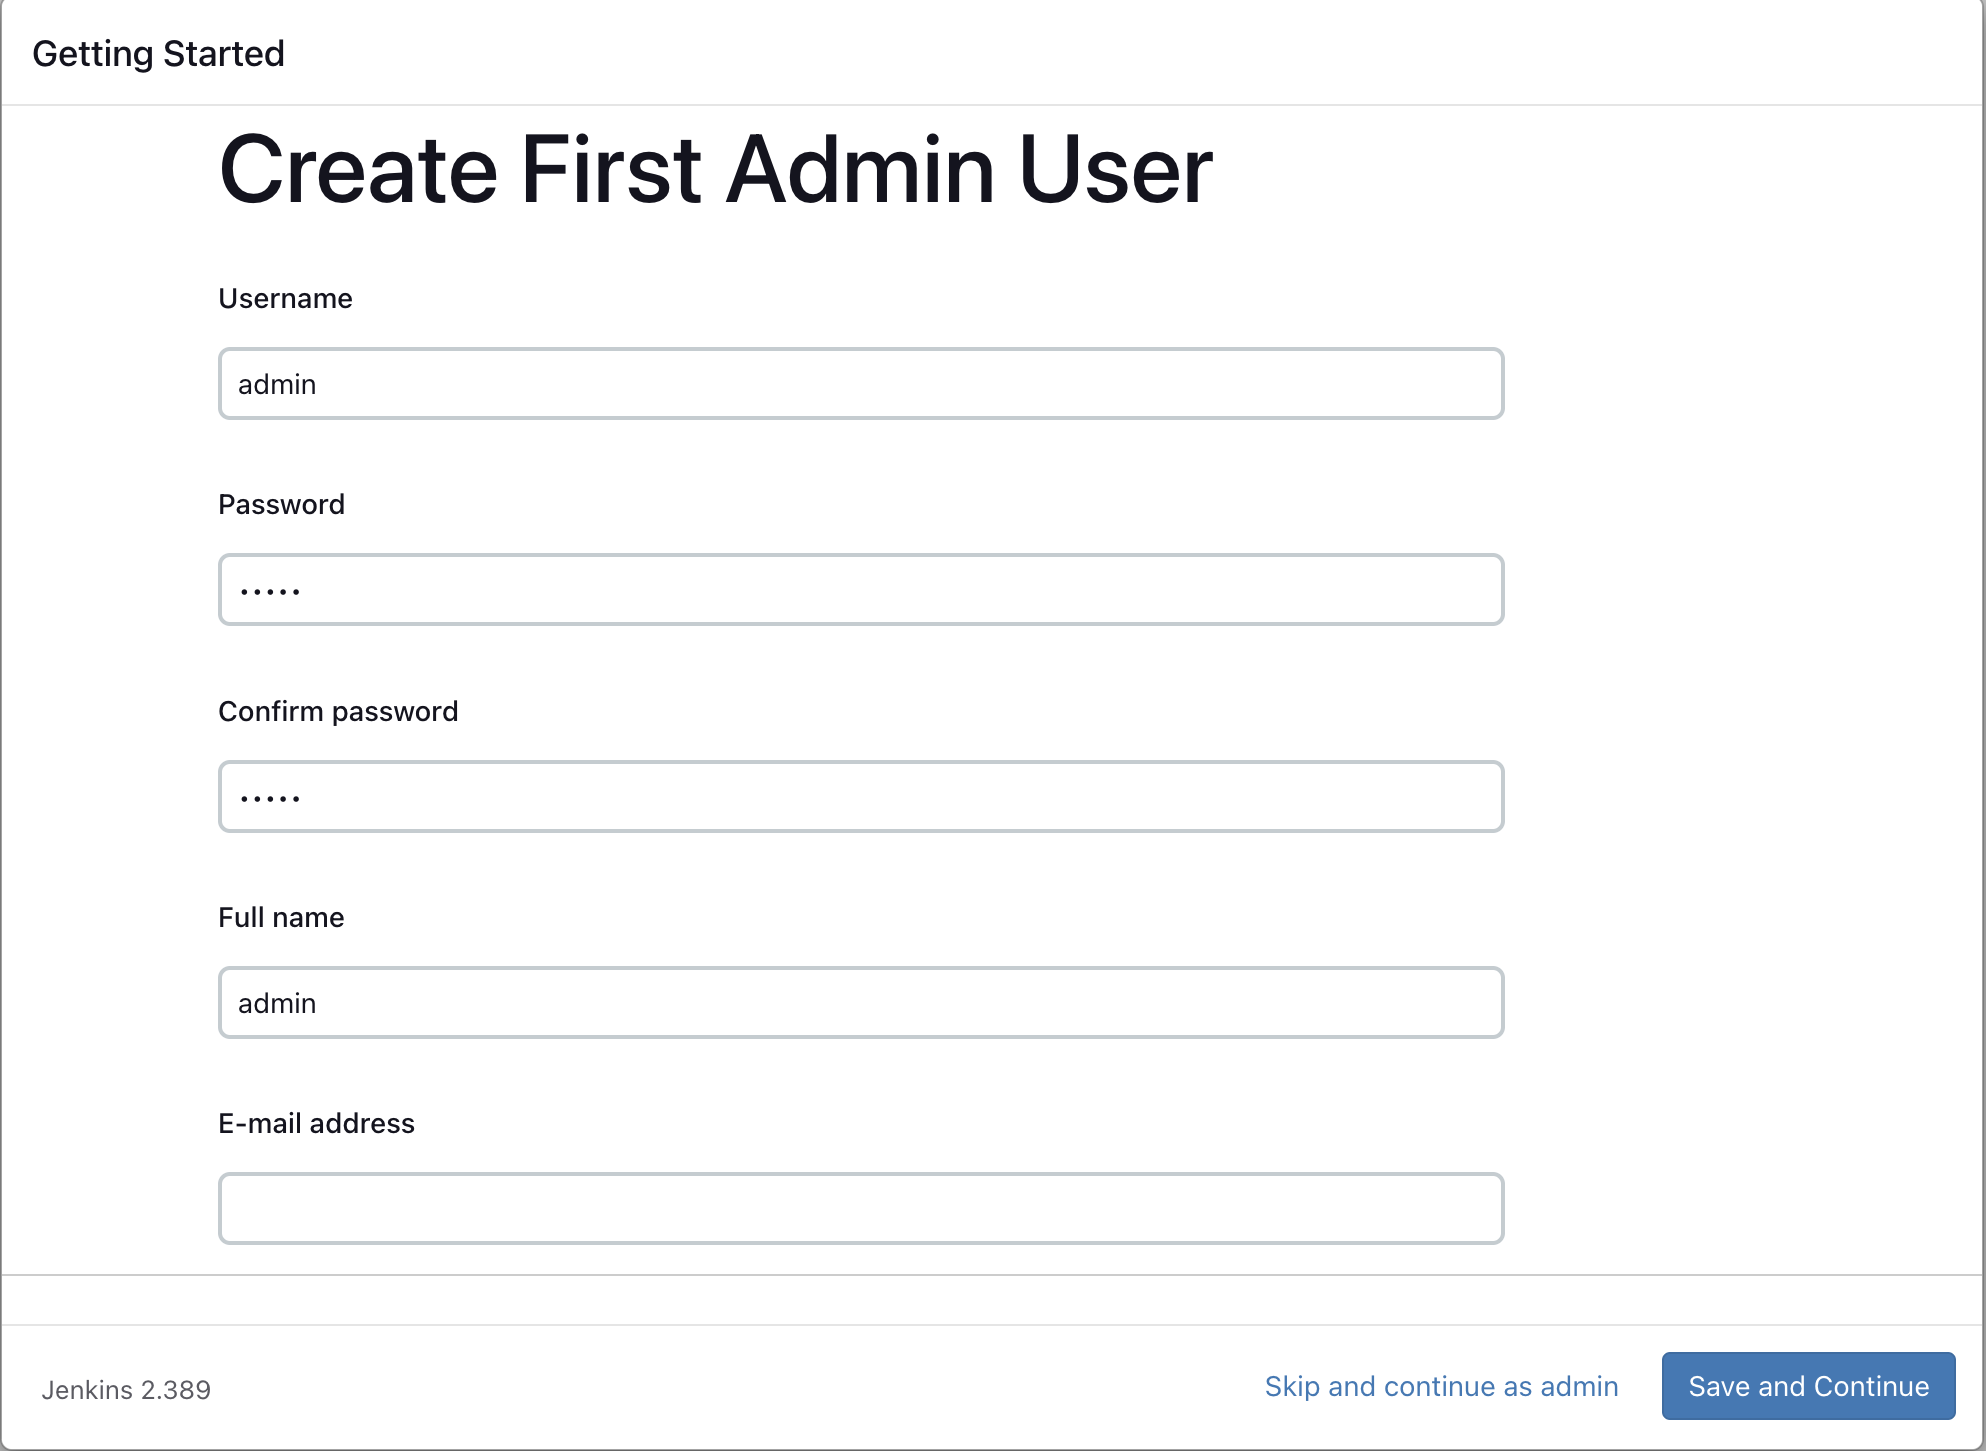
Create First Admin User and Continue
UI Dashboard
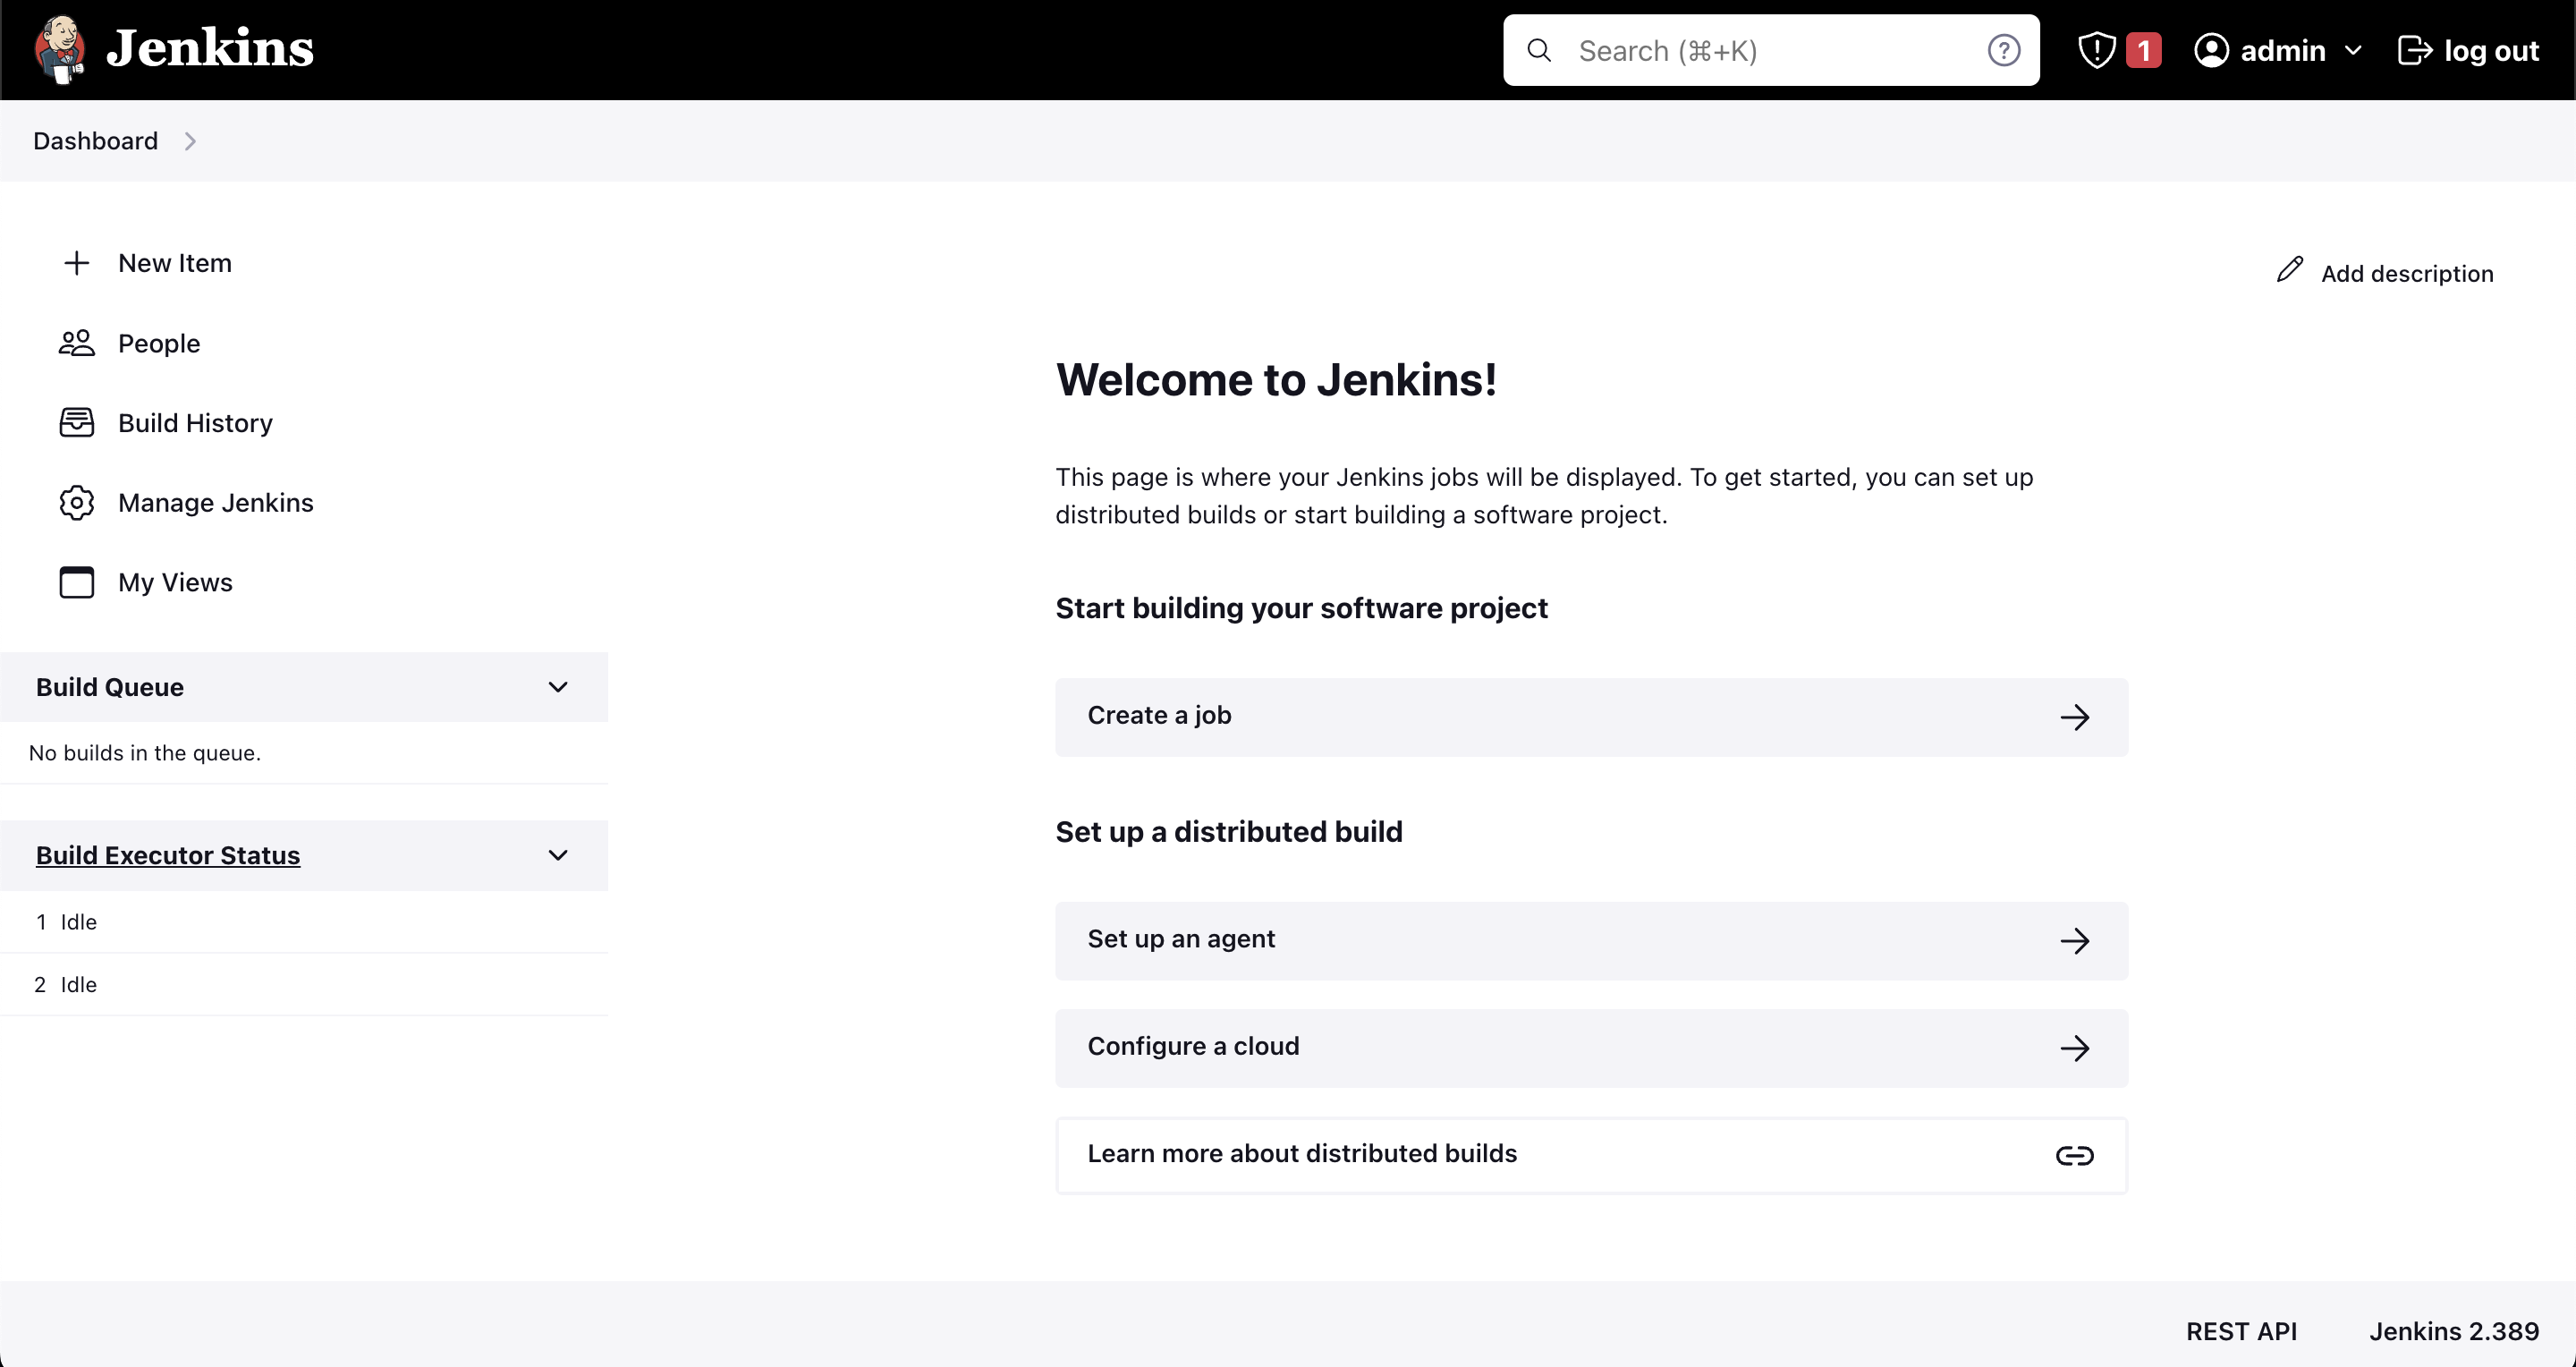
Exploring Left side UI
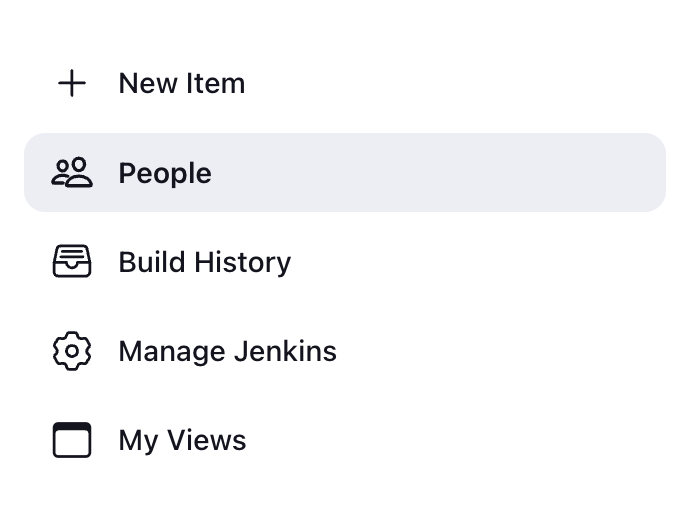
- Click on New Item on the left side of dashboard
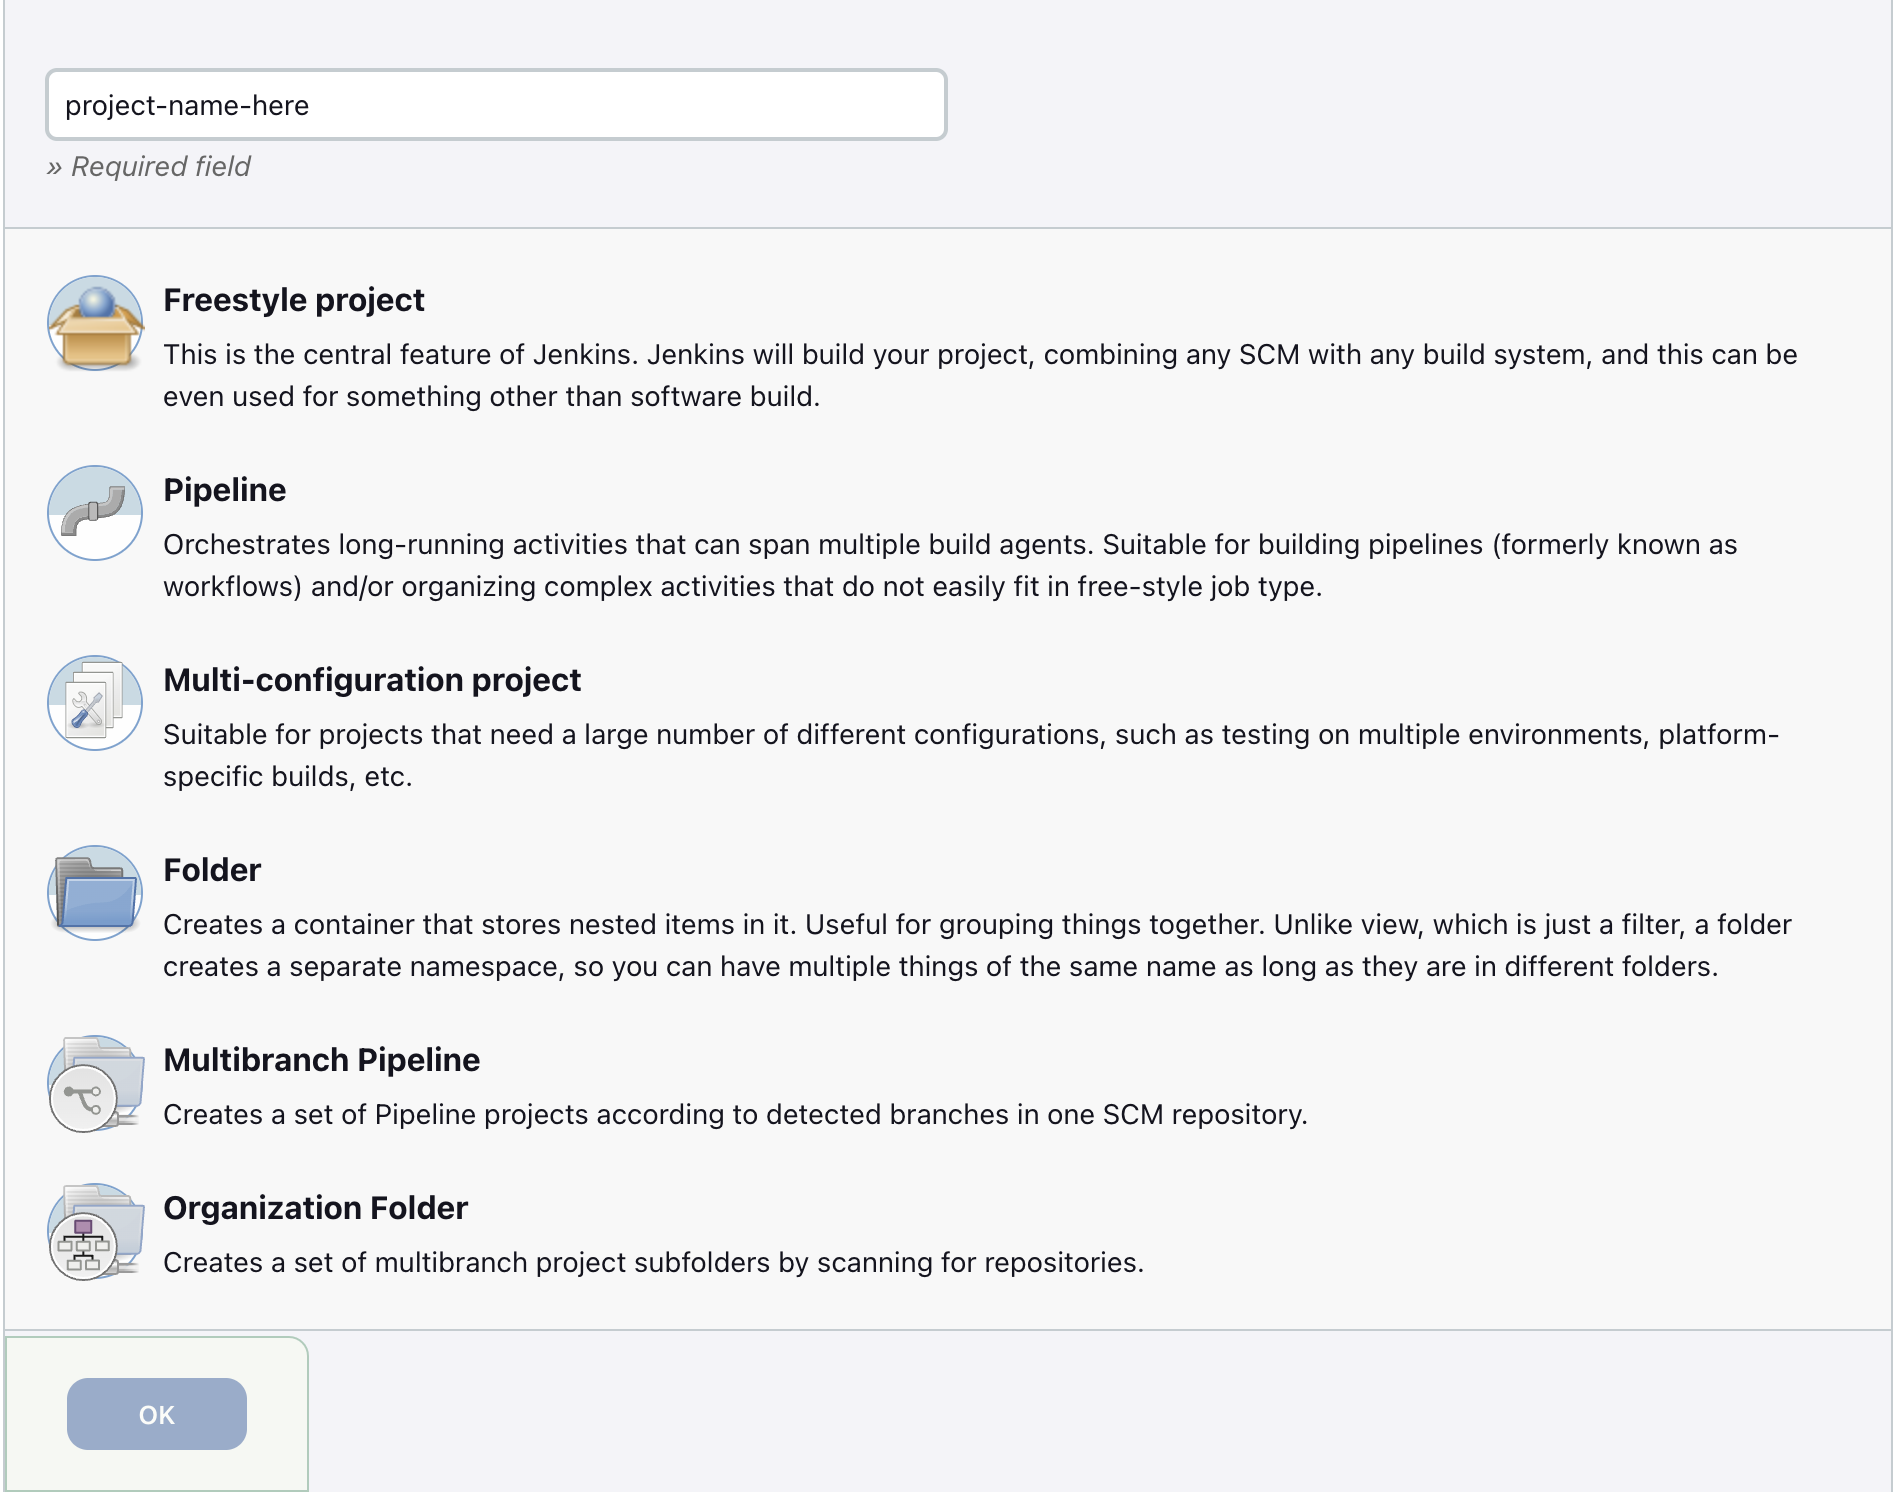
It consists of different types of configuration/pipeline types we can use. But mostly we use Freestyle project and Pipeline for most cases.
Back to Dashboard --> Click on People
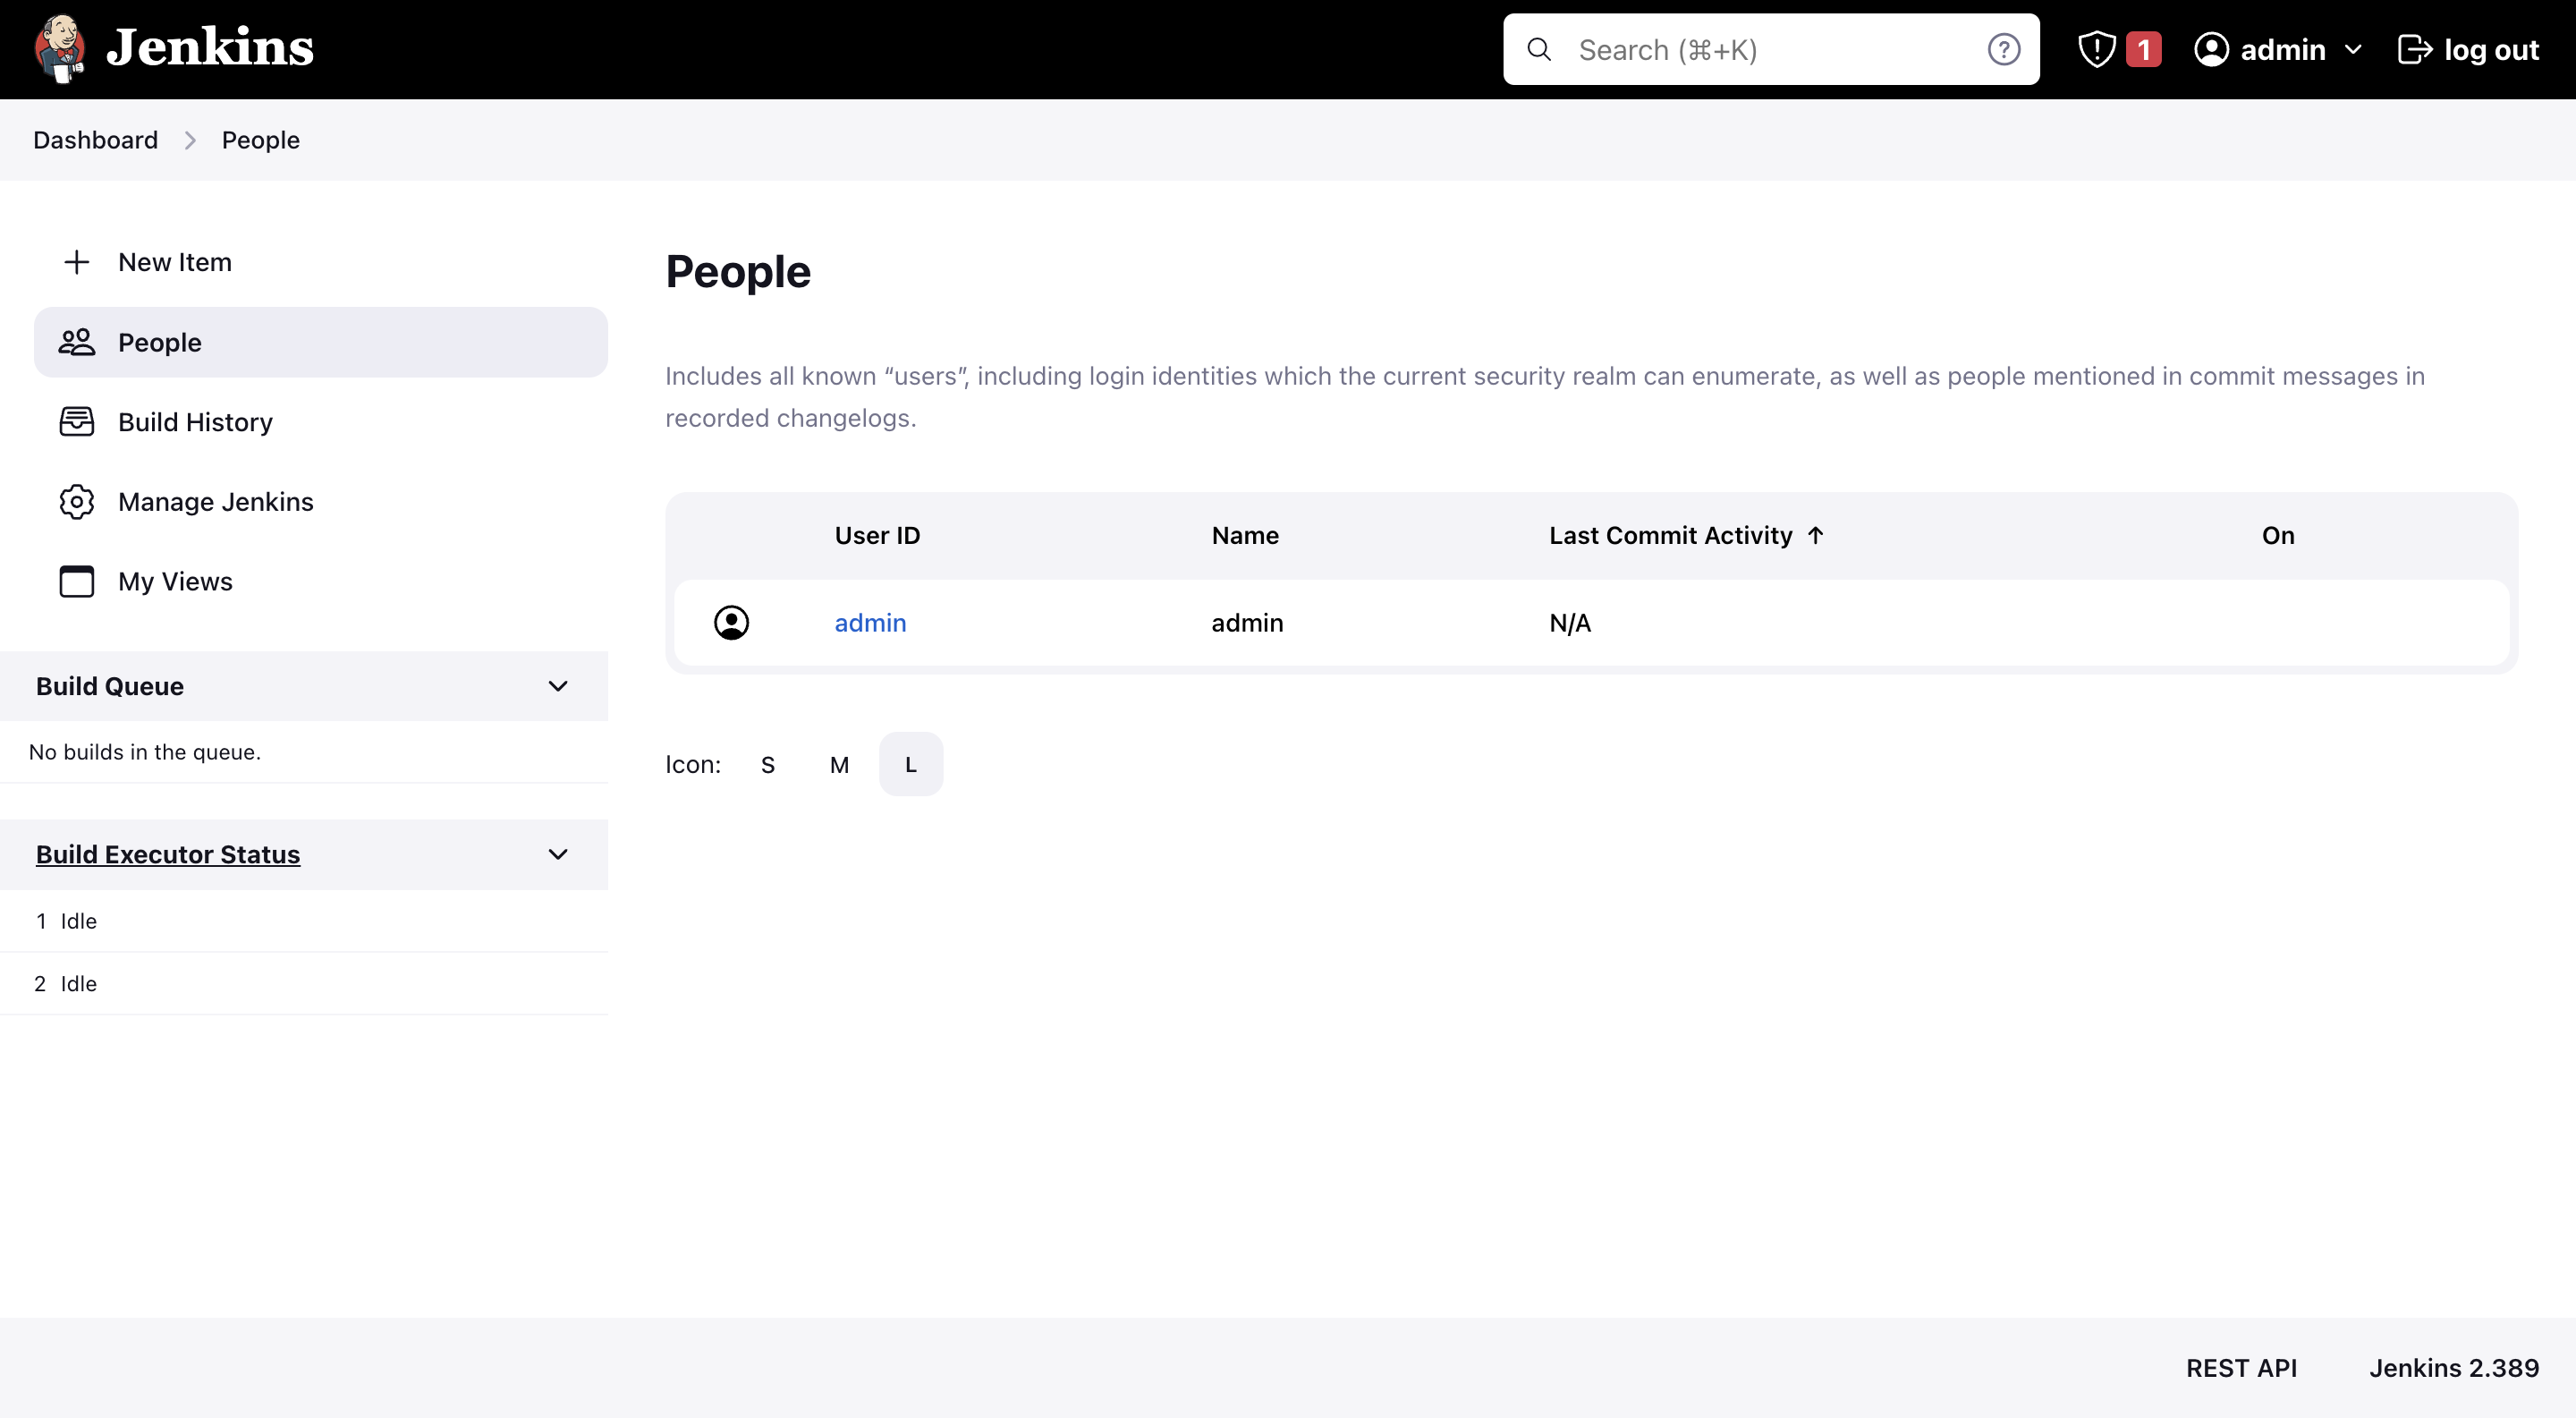
Includes all known “users”, including login identities which the current security realm can enumerate, as well as people mentioned in commit messages in recorded changelogs.
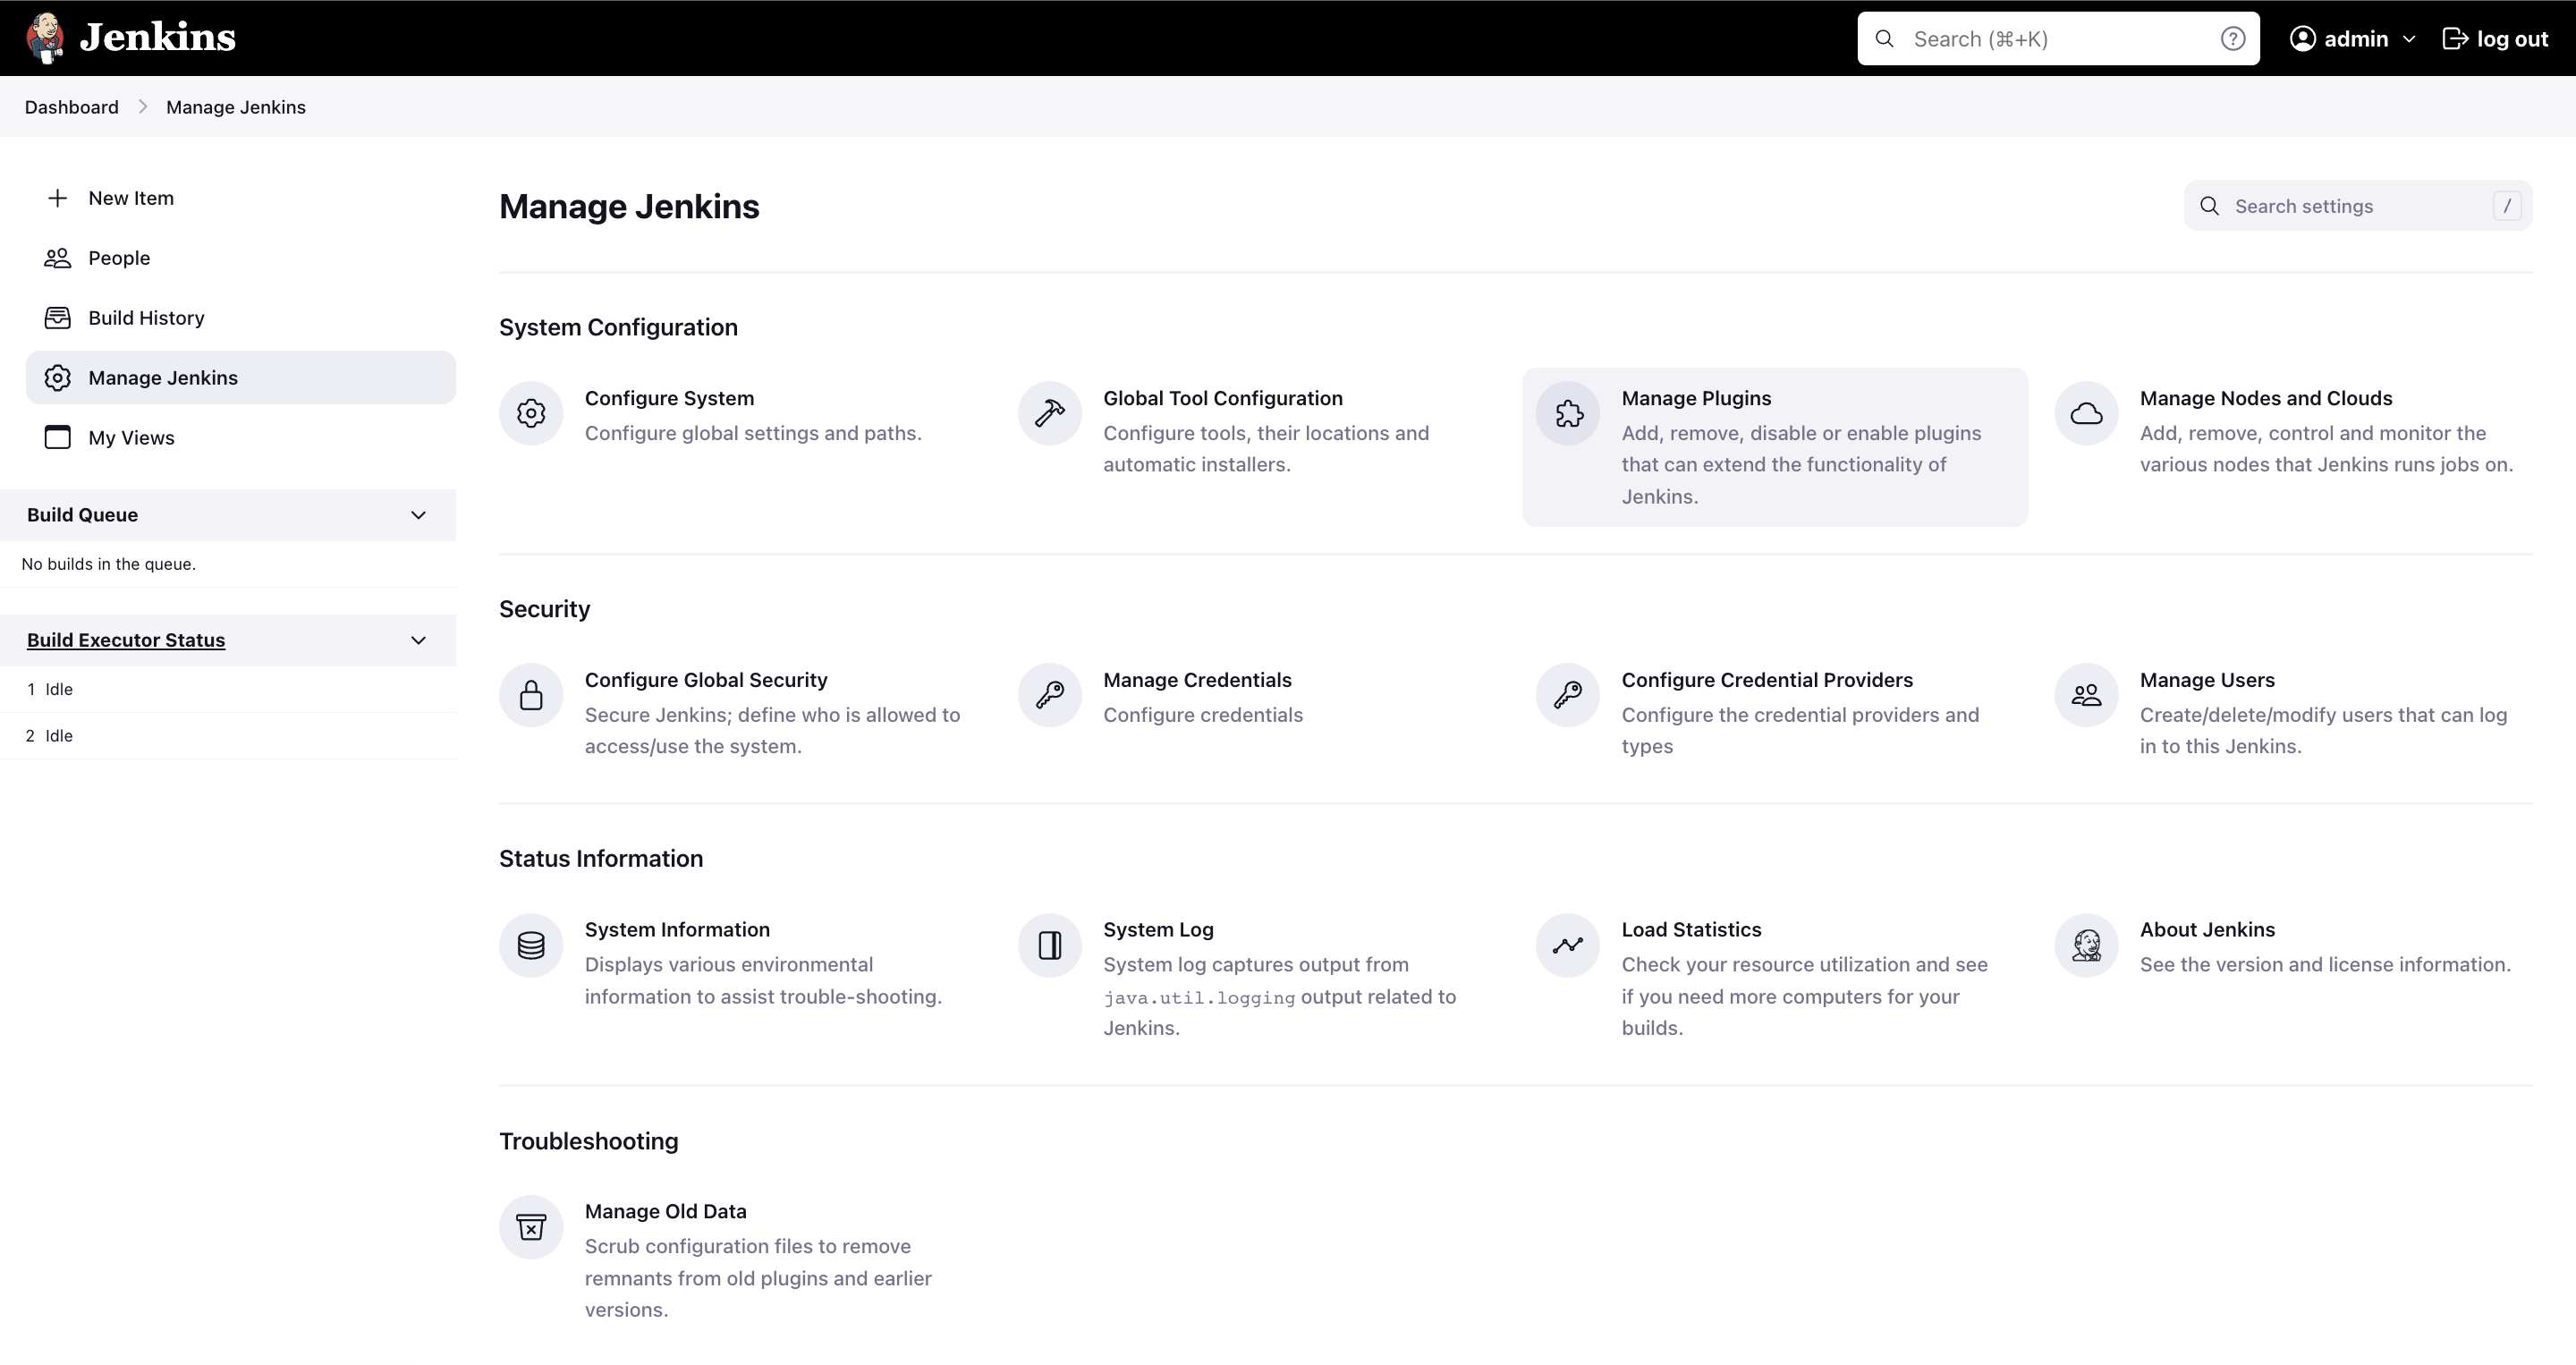
- We can manage Jenkins system configurations, Security, Status Information and troubleshoot problems using one of the options
Congratulations on making it this far! By now, you should have successfully installed and explored the Jenkins panel. This marks the completion of Part 1 of the "CI/CD with Jenkins" series, which was an installation guide.

